

This was done back in September-October 2015.
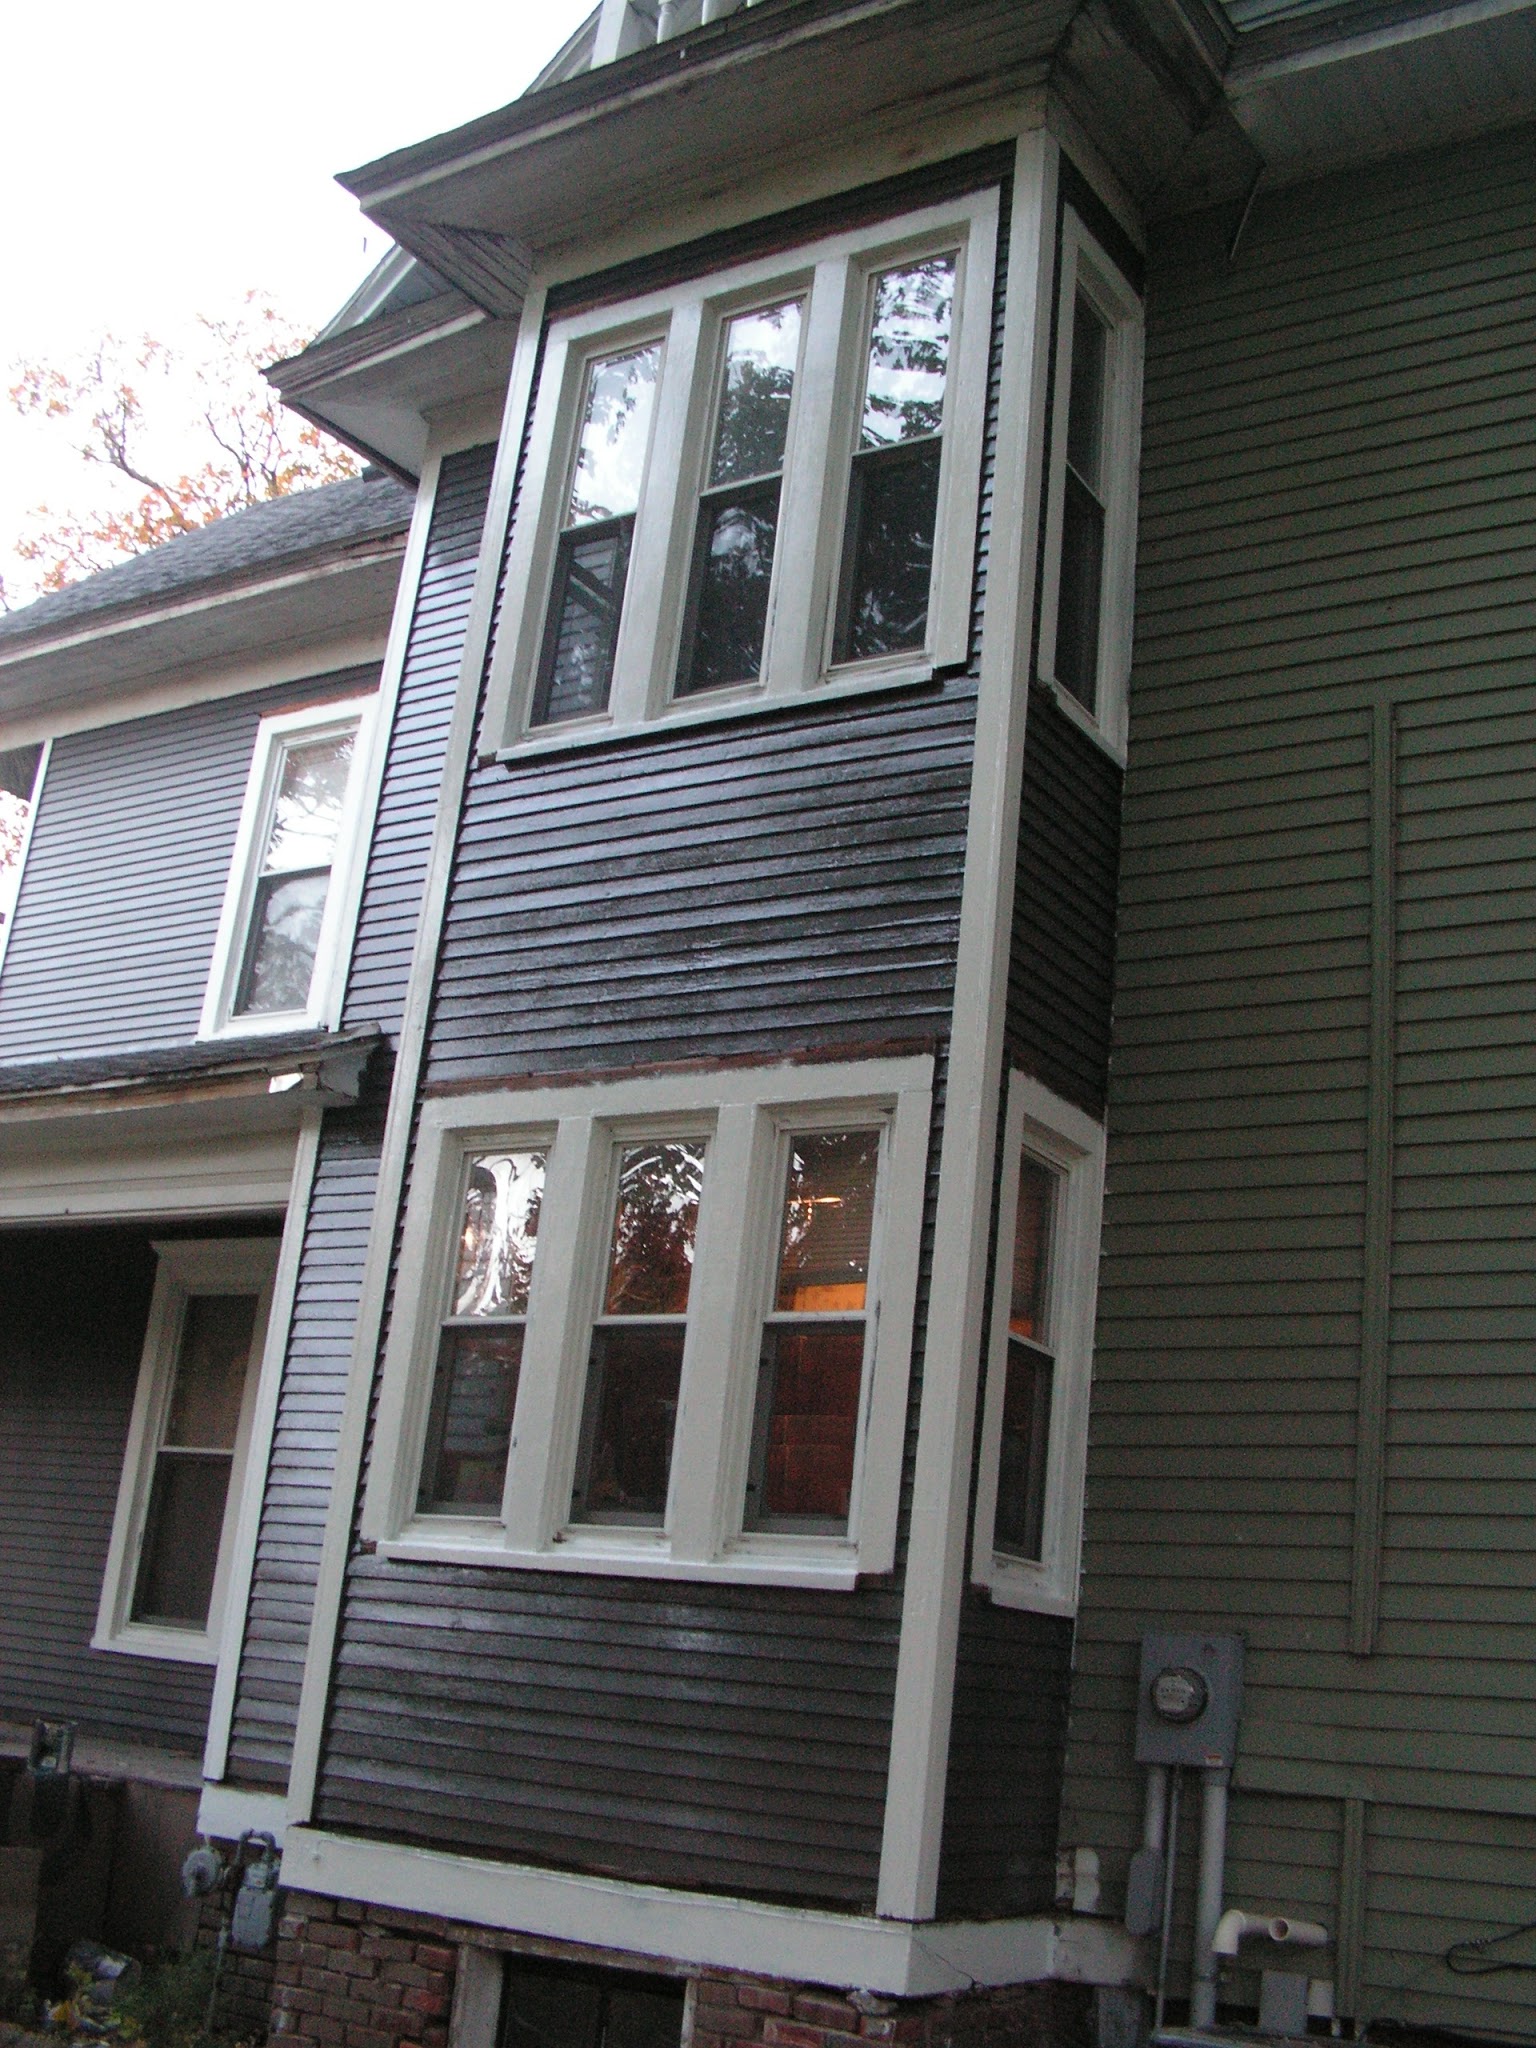
I decided to tackle this side and forgo the part with the electric meter as I didn't really want to mess with having the power company over to take off all those boxes and wires until next year. This side also had that Styrofoam underneath the siding.
I really, really hate this foam, its flimsy and it flies everywhere making yard cleanup a pain. I suppose they intended it as some form of insulation or something, usually you see Tyvek wrap or something like that.

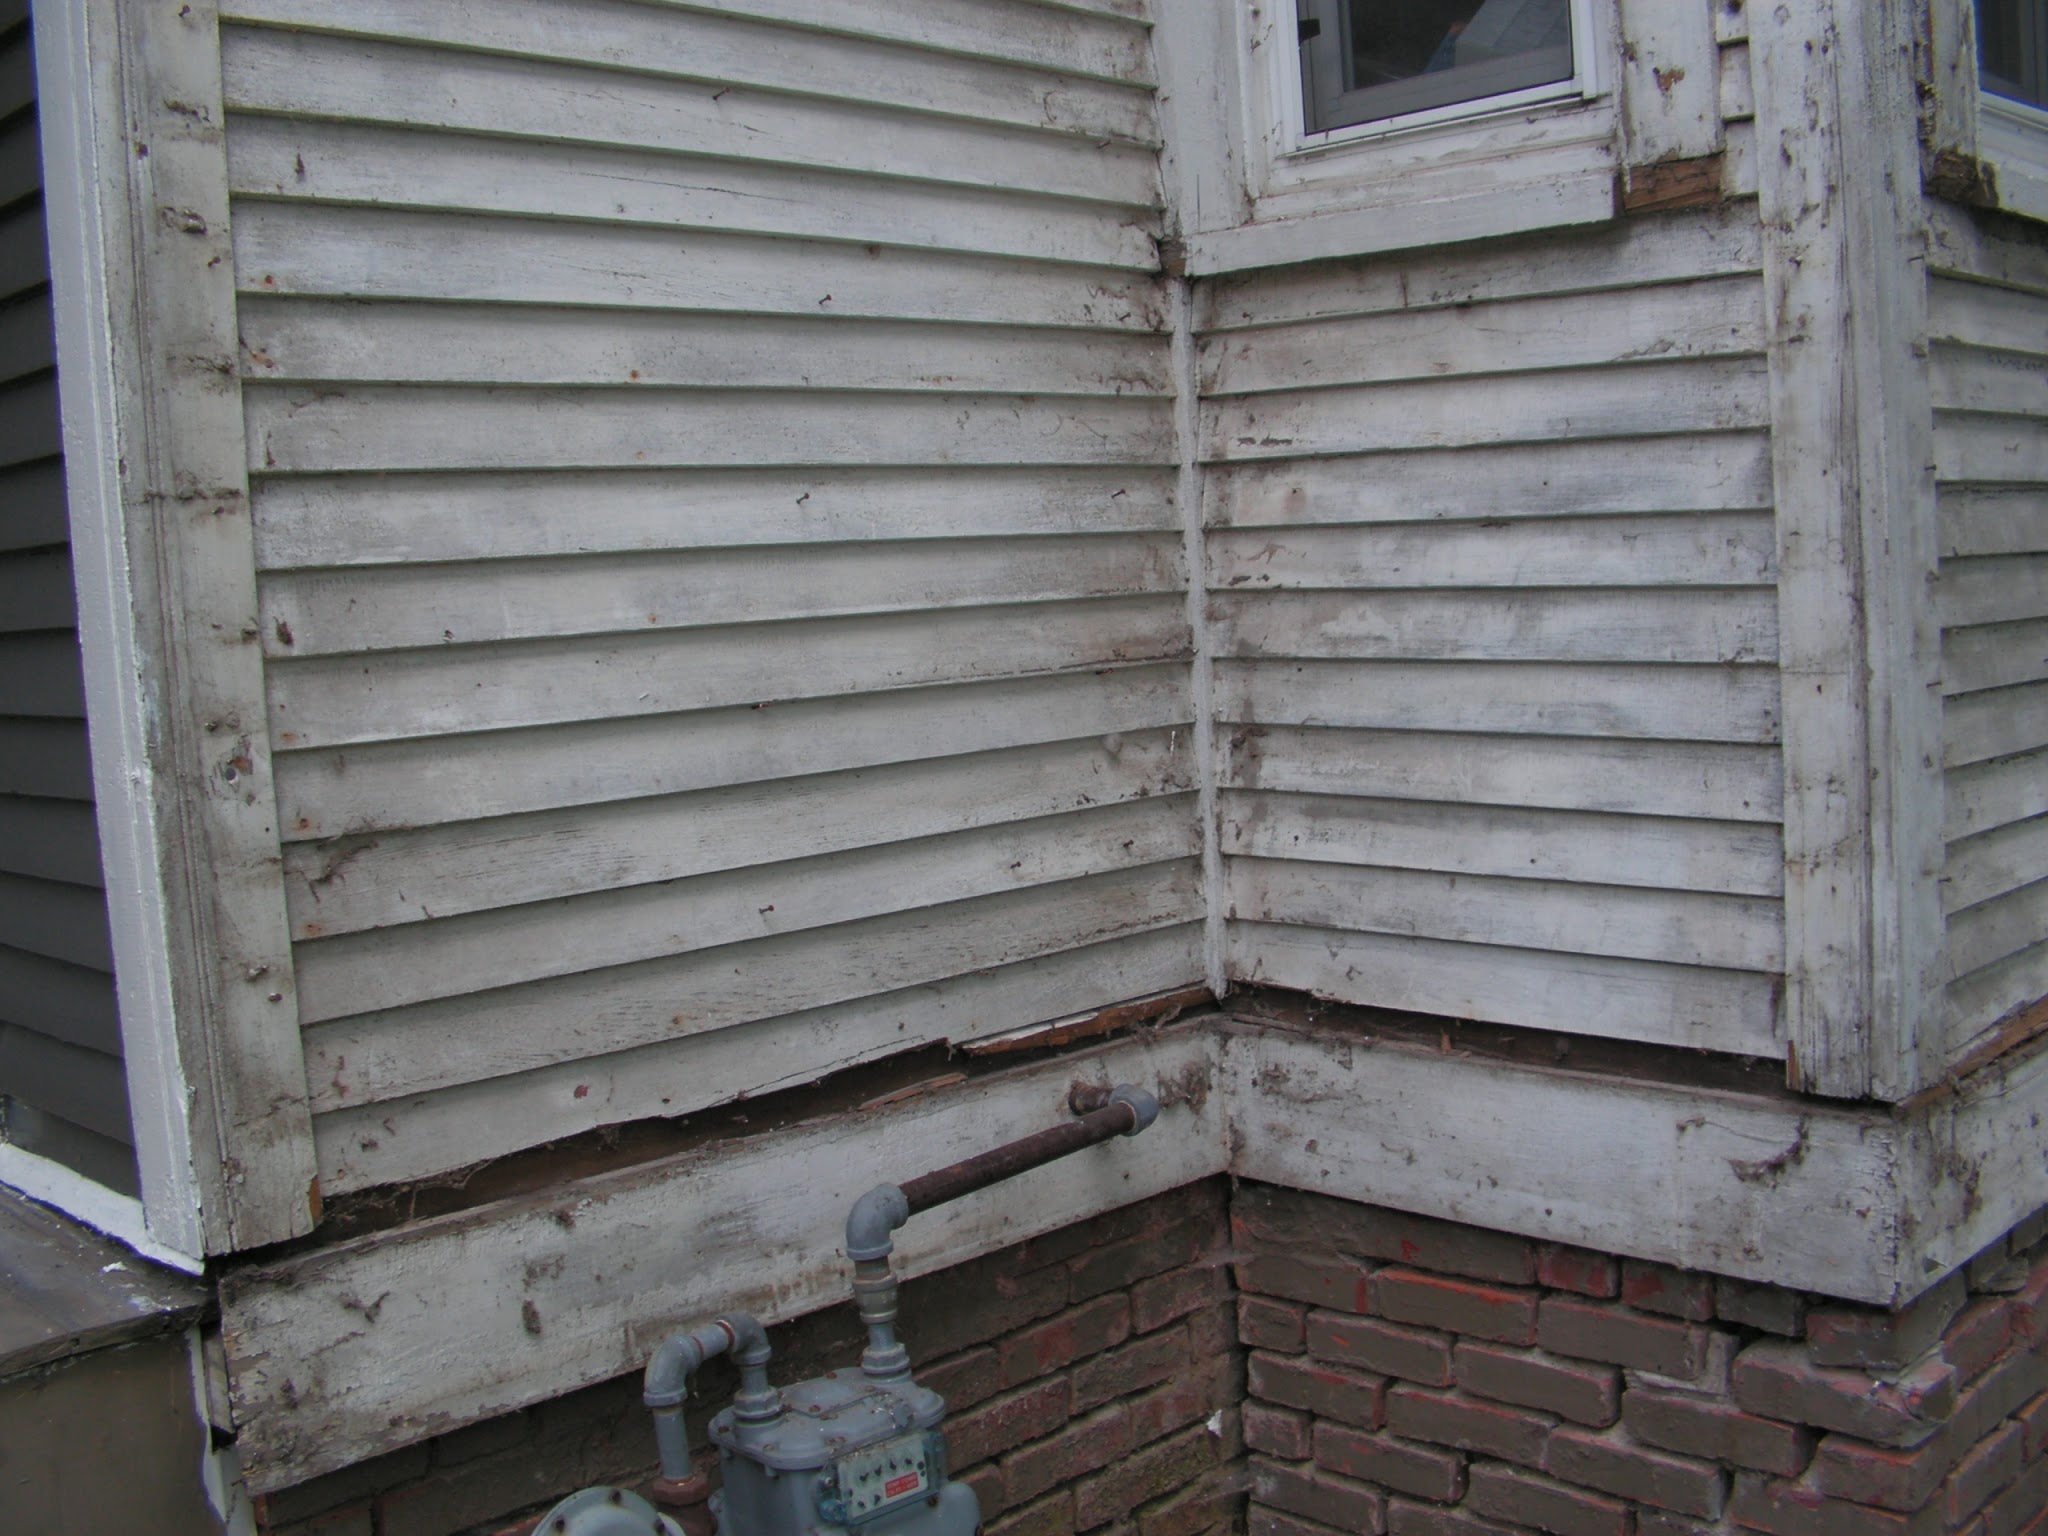
One thing I really love about these bay windows is the very thin row of clapboards between the window frame and the cornerboards, I've never seen this sort of thing before personally, usually what is done is they make it so the corner boards and window frames join into one piece in order to avoid this. It makes a really nice effect when they do it though, however I noticed really short lengths of clapboards usually are prone to developing problems because of neglect as you can see here. Thankfully there was only one clapboard actually missing. Two had slid down and overlapped eachother however I was glad to see they were there.

All of these were very loose and had gaps on either sides, the first one to go missing as you can see just had white paint over the sheathing boards, suggesting it went missing a long, long time ago. Due to this problem and some warping caused by moisture getting behind the clapboards, they were not in great shape, I decided to carefully pry them up and number them so that they could be put back in the same order. One or two were too rotted or soft to salvage, so I had to cut new ones from some salvaged clapboards I picked up a while back. What follows next is a gallery of the condition of the wood underneath the siding. And yikes the cut sill corners, how I really loathe this! I just for the life of me can't understand why hacking off 4" of sill is somehow wrapping that much more of the house rather than just framing around the windows. That irks me more than the window moulding being cut off.
Interesting how the sill corners were anchored into the window frames by a very long nail. I'm hoping this is not some essential piece once removed and the sill corners replaced. Not sure nailing in a replacement sill corner would give support to the rest of the sill.


The 2nd story as well as the west and north faces thankfully did not develop the same issue as the south first story side did, I guess since they don't get hit by the elements as much as the lowest story does.


On the 2nd story the sill corner was completely cut off if you look carefully you can see my sash weights inside the weight pockets! Just waiting for when I can put in some good wood windows! Was glad to finally see some evidence that my sash weights are still inside!

Removing the siding from the eaves was a job and a half! It was hard to get the ladder at a safe and stable angle to reach up this high safely! Thankfully my beadboard was all intact on this side and not missing and replaced with plywood like in that one other section as you can see to the extreme left of the photo. I was fearing the whole west side beadboard was gone.


Meanwhile back to the thin row of clapboards. That's what it looked like underneath, the nail I stuck just under the remnants of the drip cap was because a piece of clapboard was stuck up under the next bit of clapboard, so I decided to just bring all those inside and get them cleaned up and then come back later and pull out that bit with some pliers and put the nail so it didn't just randomly fall out.


A shadow of the gutter holder that was previously nailed to the wood, I had assumed they had put on the aluminum K-style gutters in the 80s after the siding, this puts the date of the modern gutters back probably to the 70s.


A neat little thing here, I noticed there was a little teardrop shaped black drip of paint from when they had painted the windows. I thought that was pretty cool!


Paint stripping in progress from around the windows where it had all flaked off due to cheap latex paint over the old oil paint without any prepwork at all.

I see these embedded in the outside stop bead around the windows, what is this? Something for attaching the screens or what? This was the only opportunity I had to see one clean of any paint.

Bead and cove moudling that was covered up by aluminum.


I think that about covers it all! Thanks for stopping by! Until the next chapter!