
The before shot.

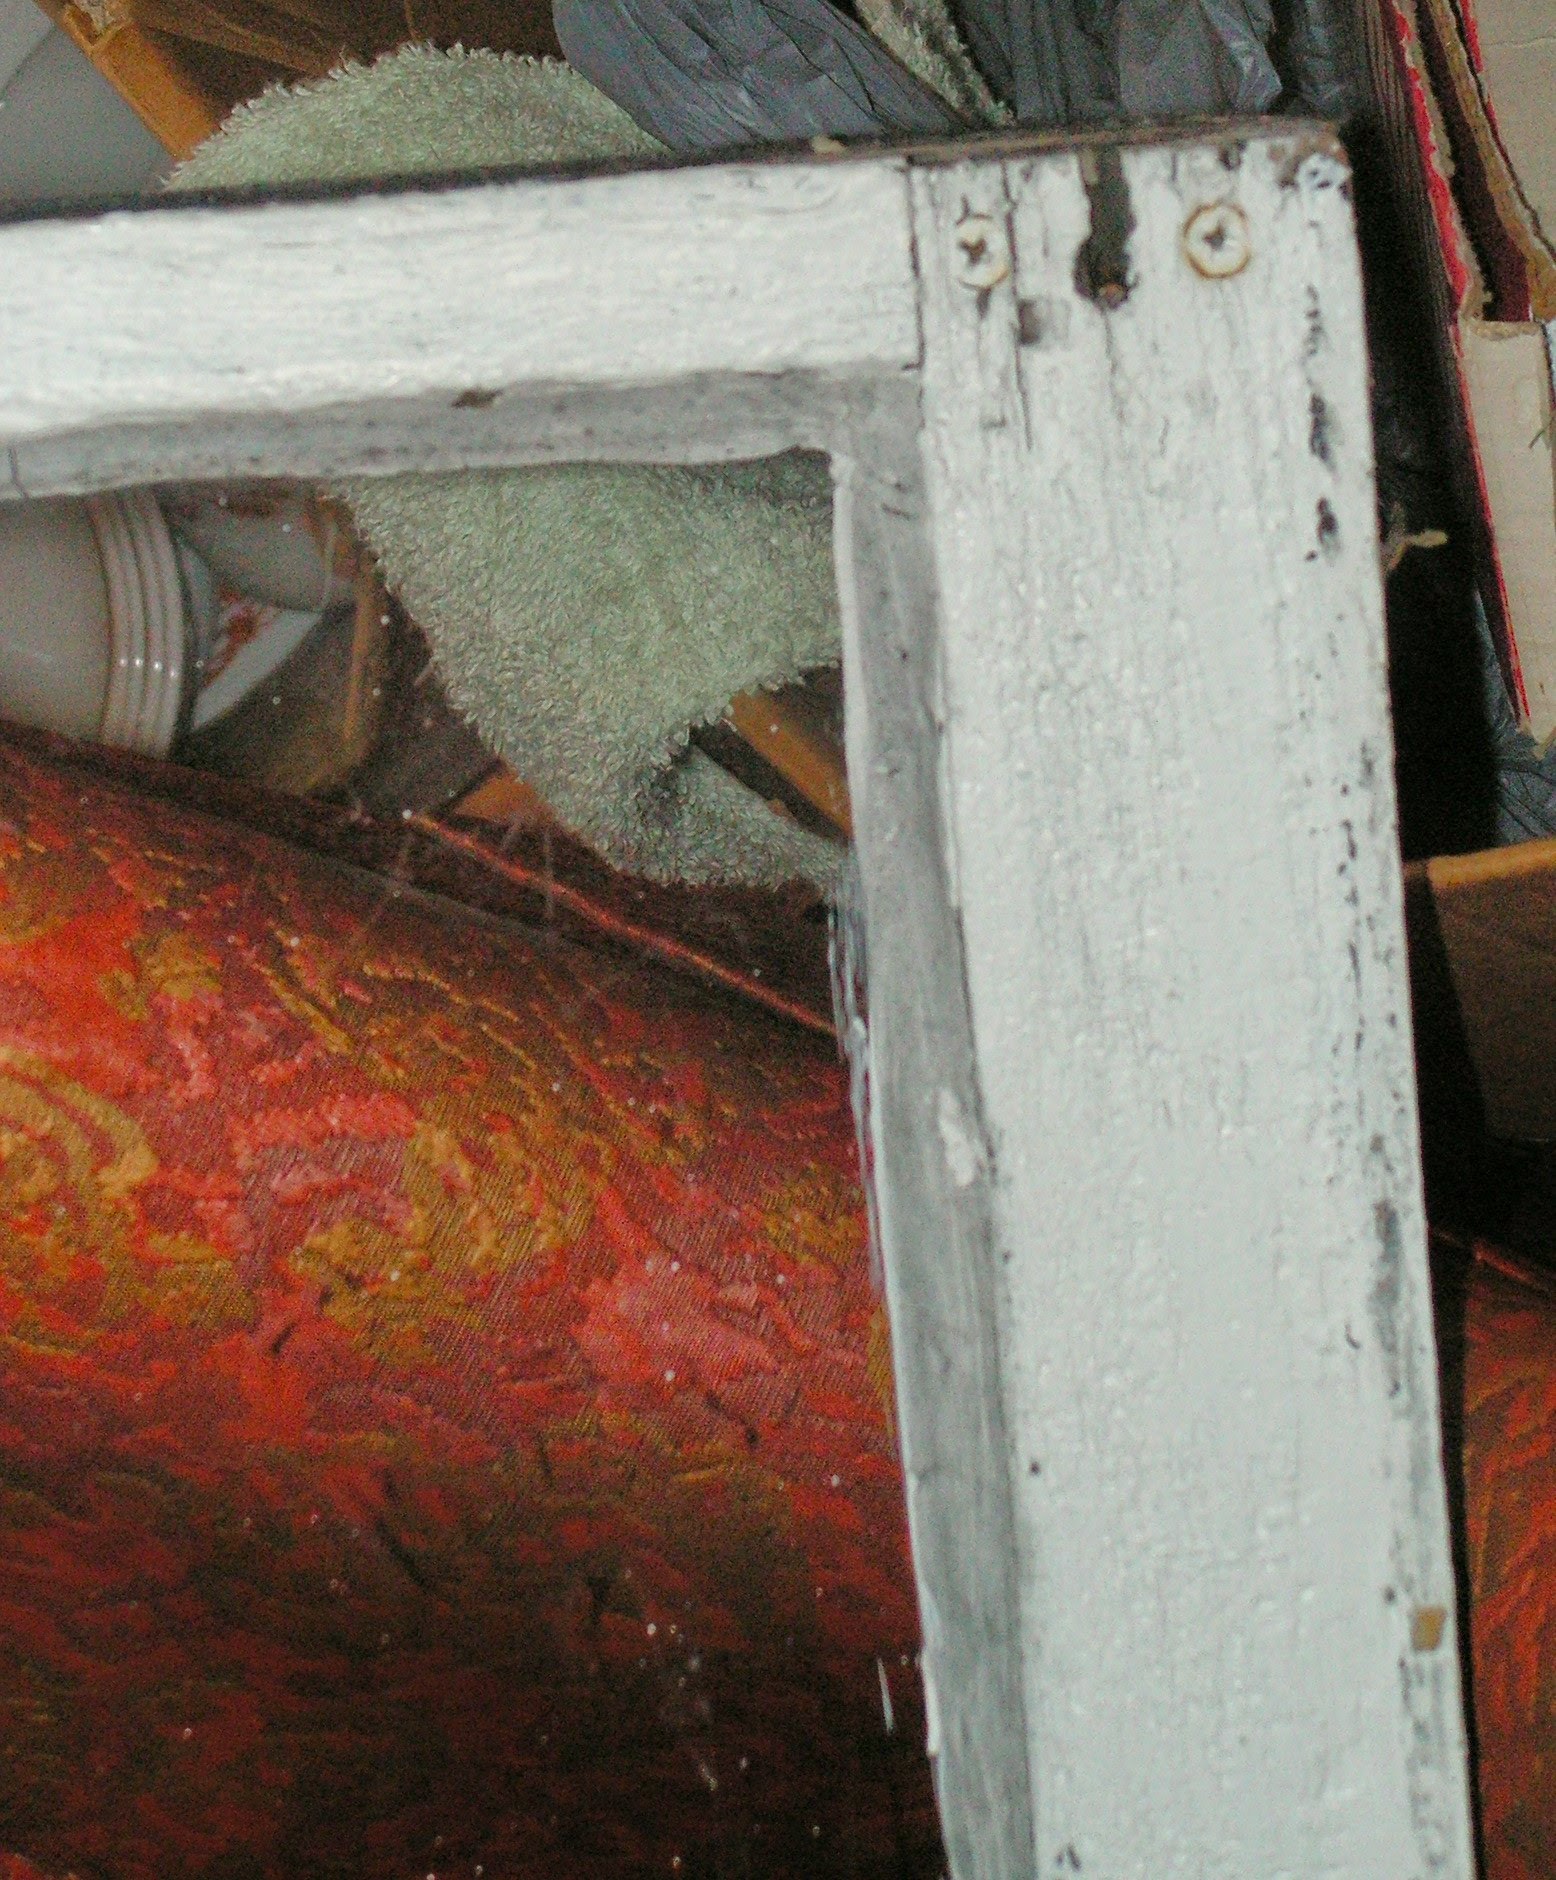
The bad condition they were in, note the loose joints and the horrid use of the screw gun which didn't help and actually split the wood.

Removing the cheap dap 33 "putty".


The top sash sits in the chair in the kids play room which they don't use anymore.

Exterior facing side of the top sash before

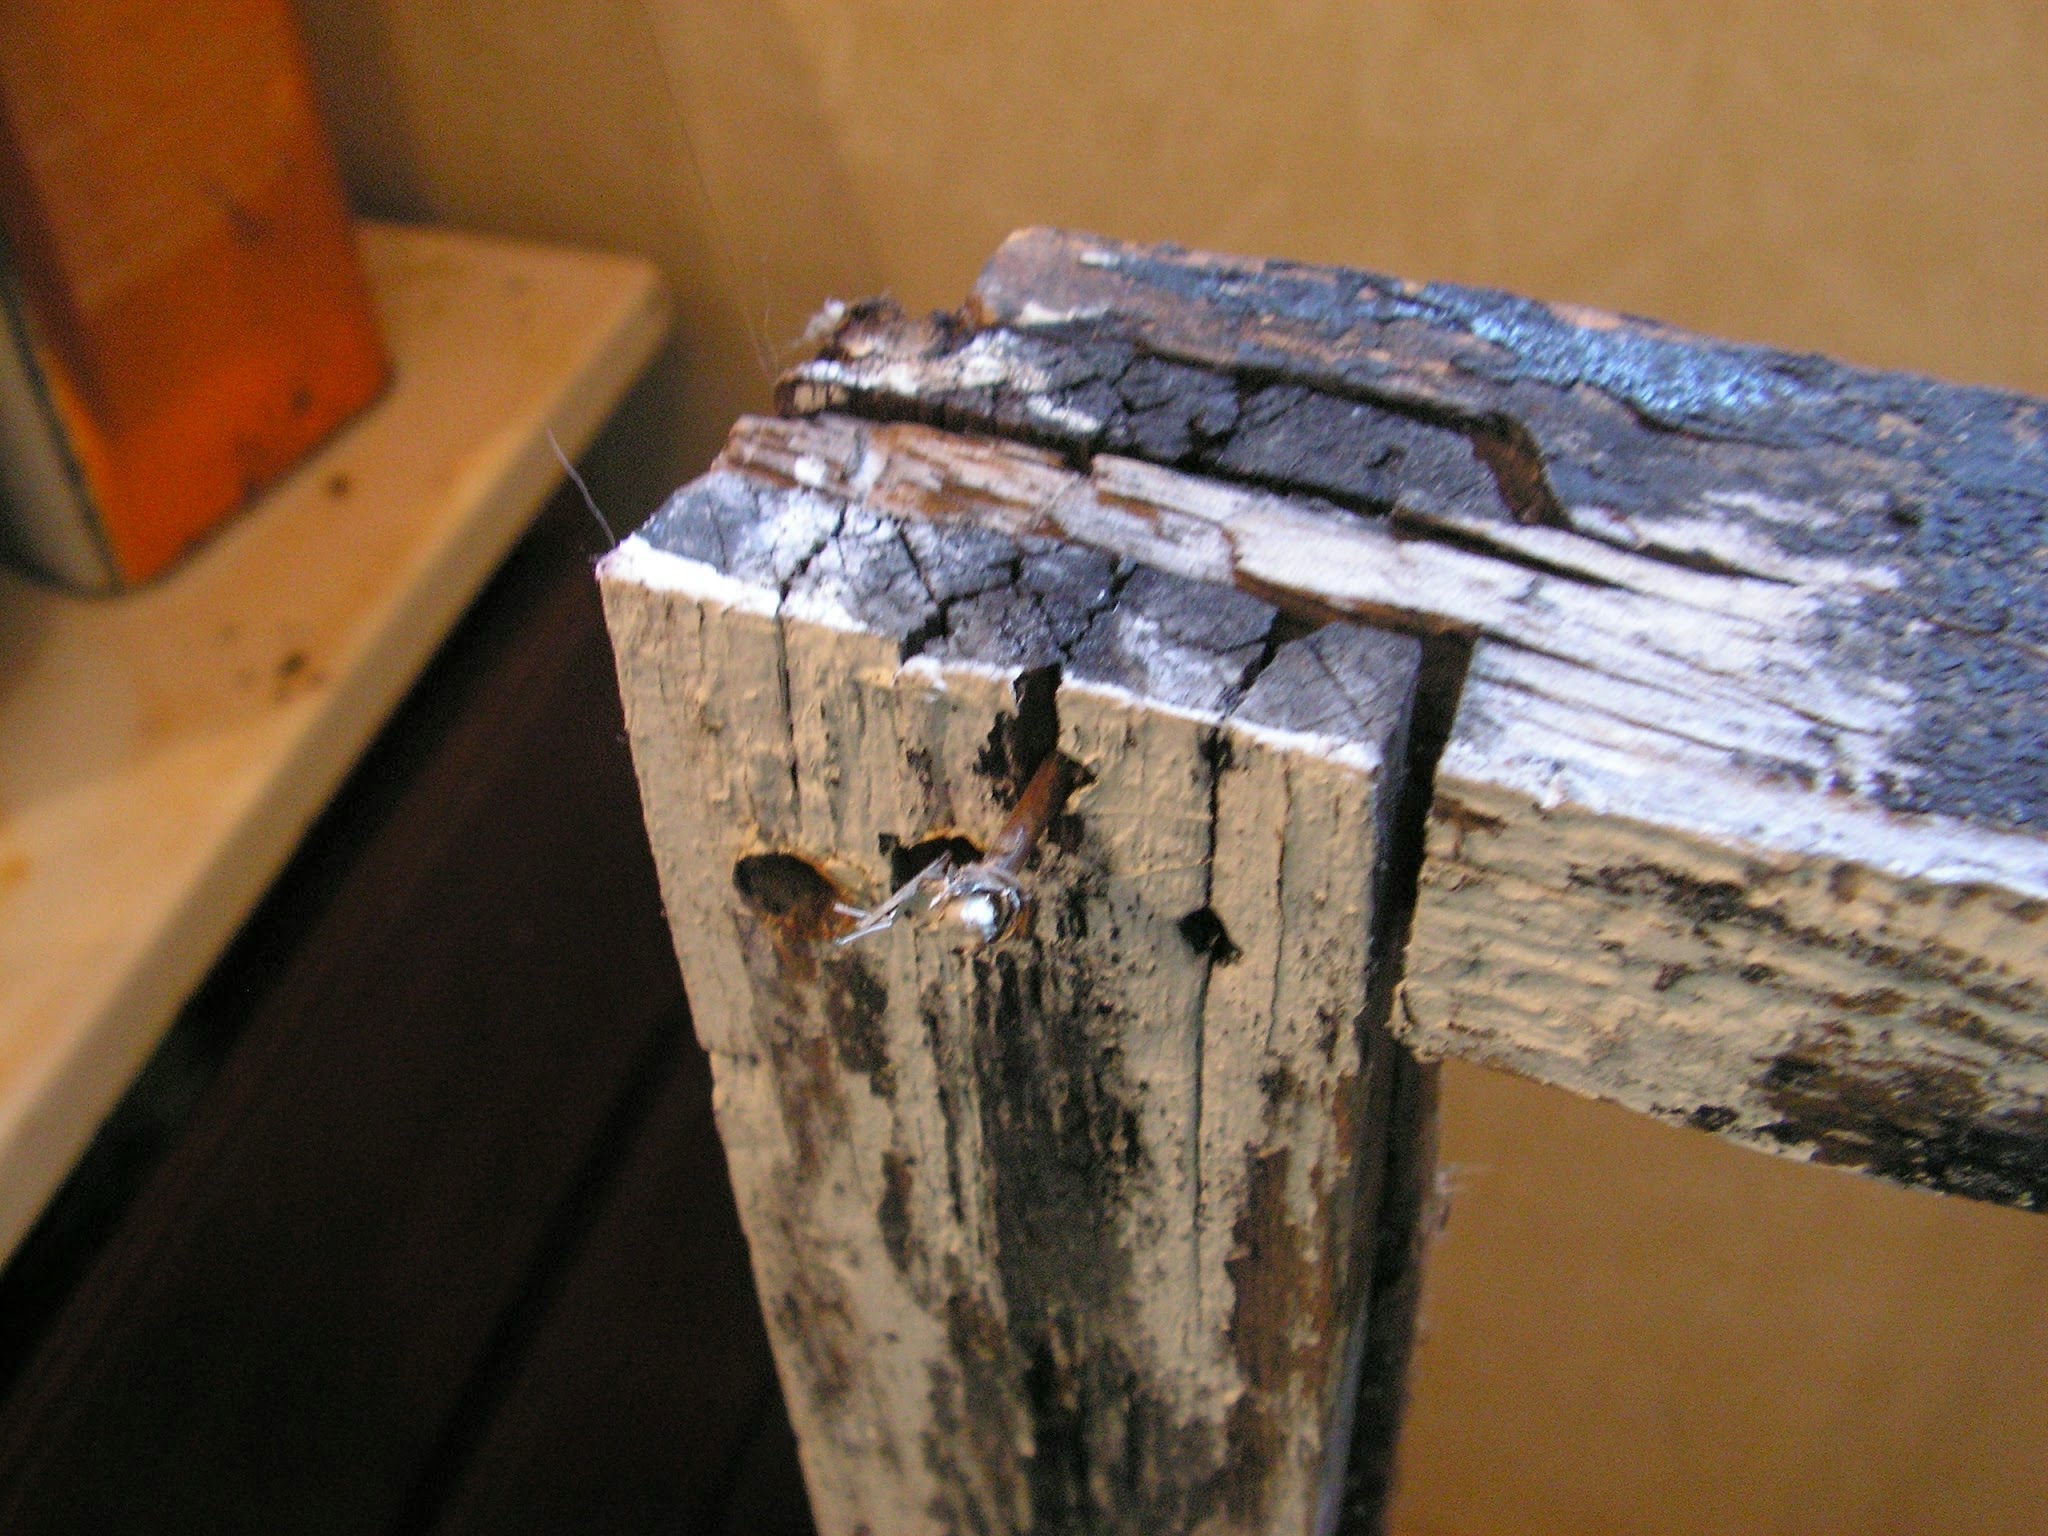
Closeup of the damage
Used a heat gun to strip most of the modern paint off, the rest I gently sanded away as much as possible, note you can see the original black that the window was, which I have returned it to the original color, which I also think looks more striking on white window framing.

The screw wasn't even held in by anything, a tap on the backside would have been enough to knock it out of place.

After I removed the screws, I removed the sash pin, or was it replaced by a nail later on? It too was easy to remove, I used needle nose pliers to grab onto it.
Here it is, rusty.

After I removed the screws, nails and sash pins I removed the bottom rail for repairs, it was very rattly and barely held together, I'm glad and surprised it didn't fall out years ago.


Closeup of the dry, cracked wood. I gave both sashes, and between these joints some boiled linseed oil and turpentine mixture to reinvigorate it.

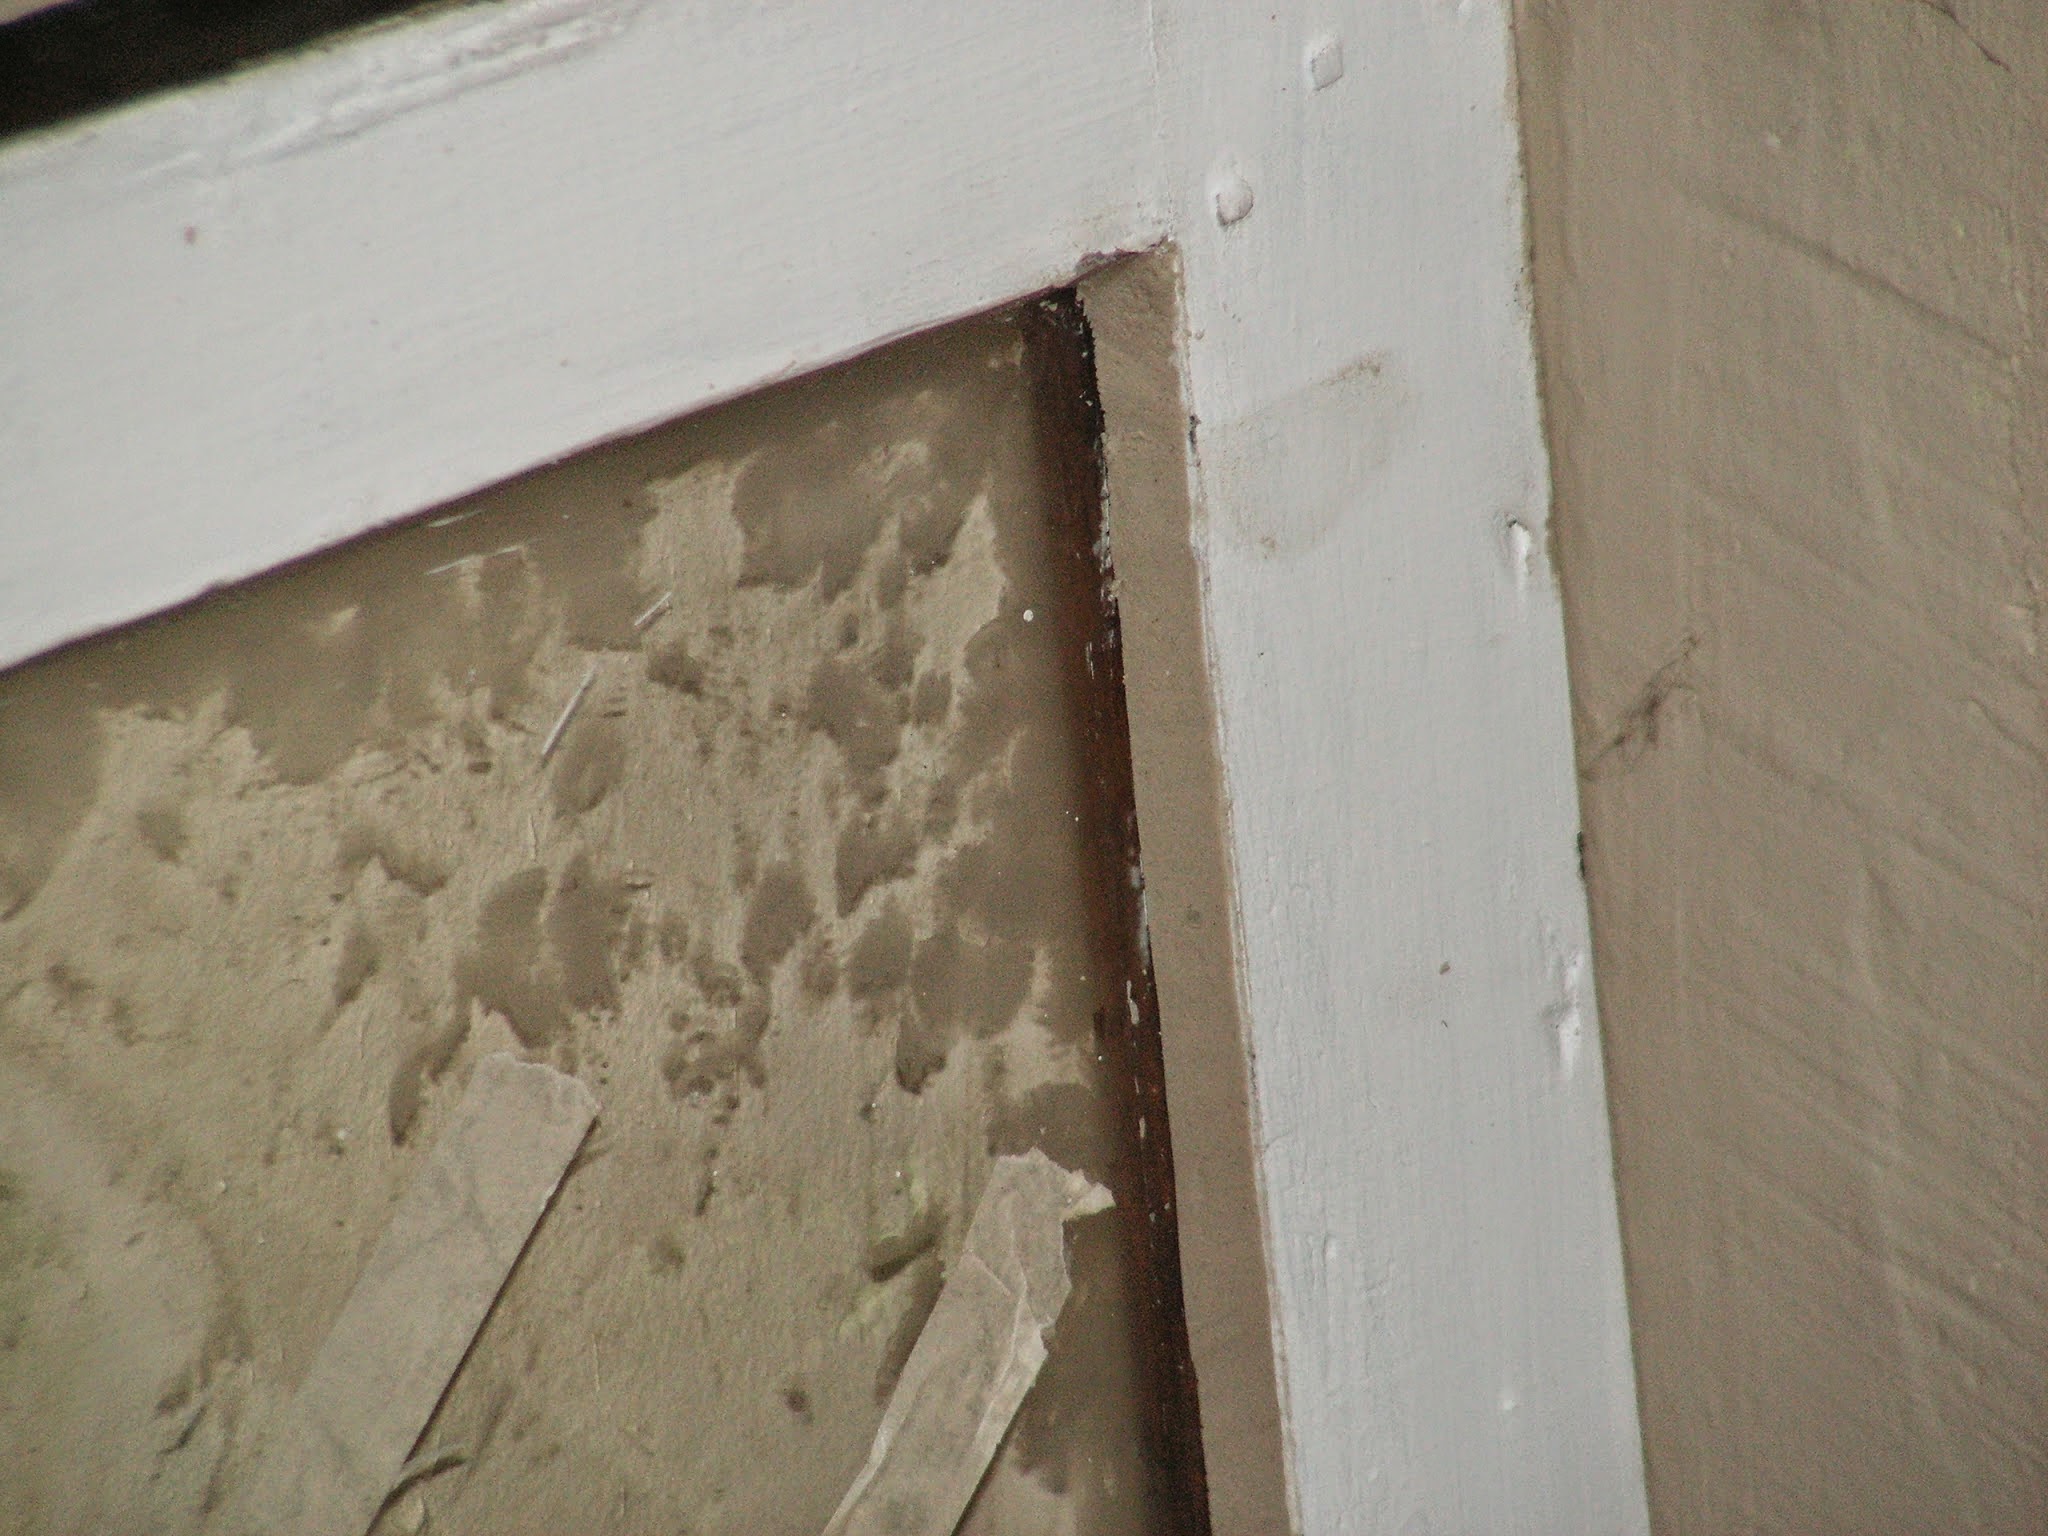
One of those dreaded modern glazing points with ears, which require twice the putty line, which is ugly as it shows through the inside of the window. I removed all those and used only traditional points.

If you look closely, a spot where whoever glazed this around 10 or so years ago just glazed over the original linseed oil putty.

The bottom sash before

Also features screwgun hackjob as well as weather checking.


Glued the bottom rail back together.

I did the same for the bottom sash, it was a little wiggly too after I removed the screws, after stripping, sanding and using wood putty to fill all the cracks, holes and weather checking, I let them both dry.

A closeup of the various original glazing points I found, the modern M shaped push points with ears weren't photographed. Found an assortment of 3/8" diamond and larger, triangle push points.

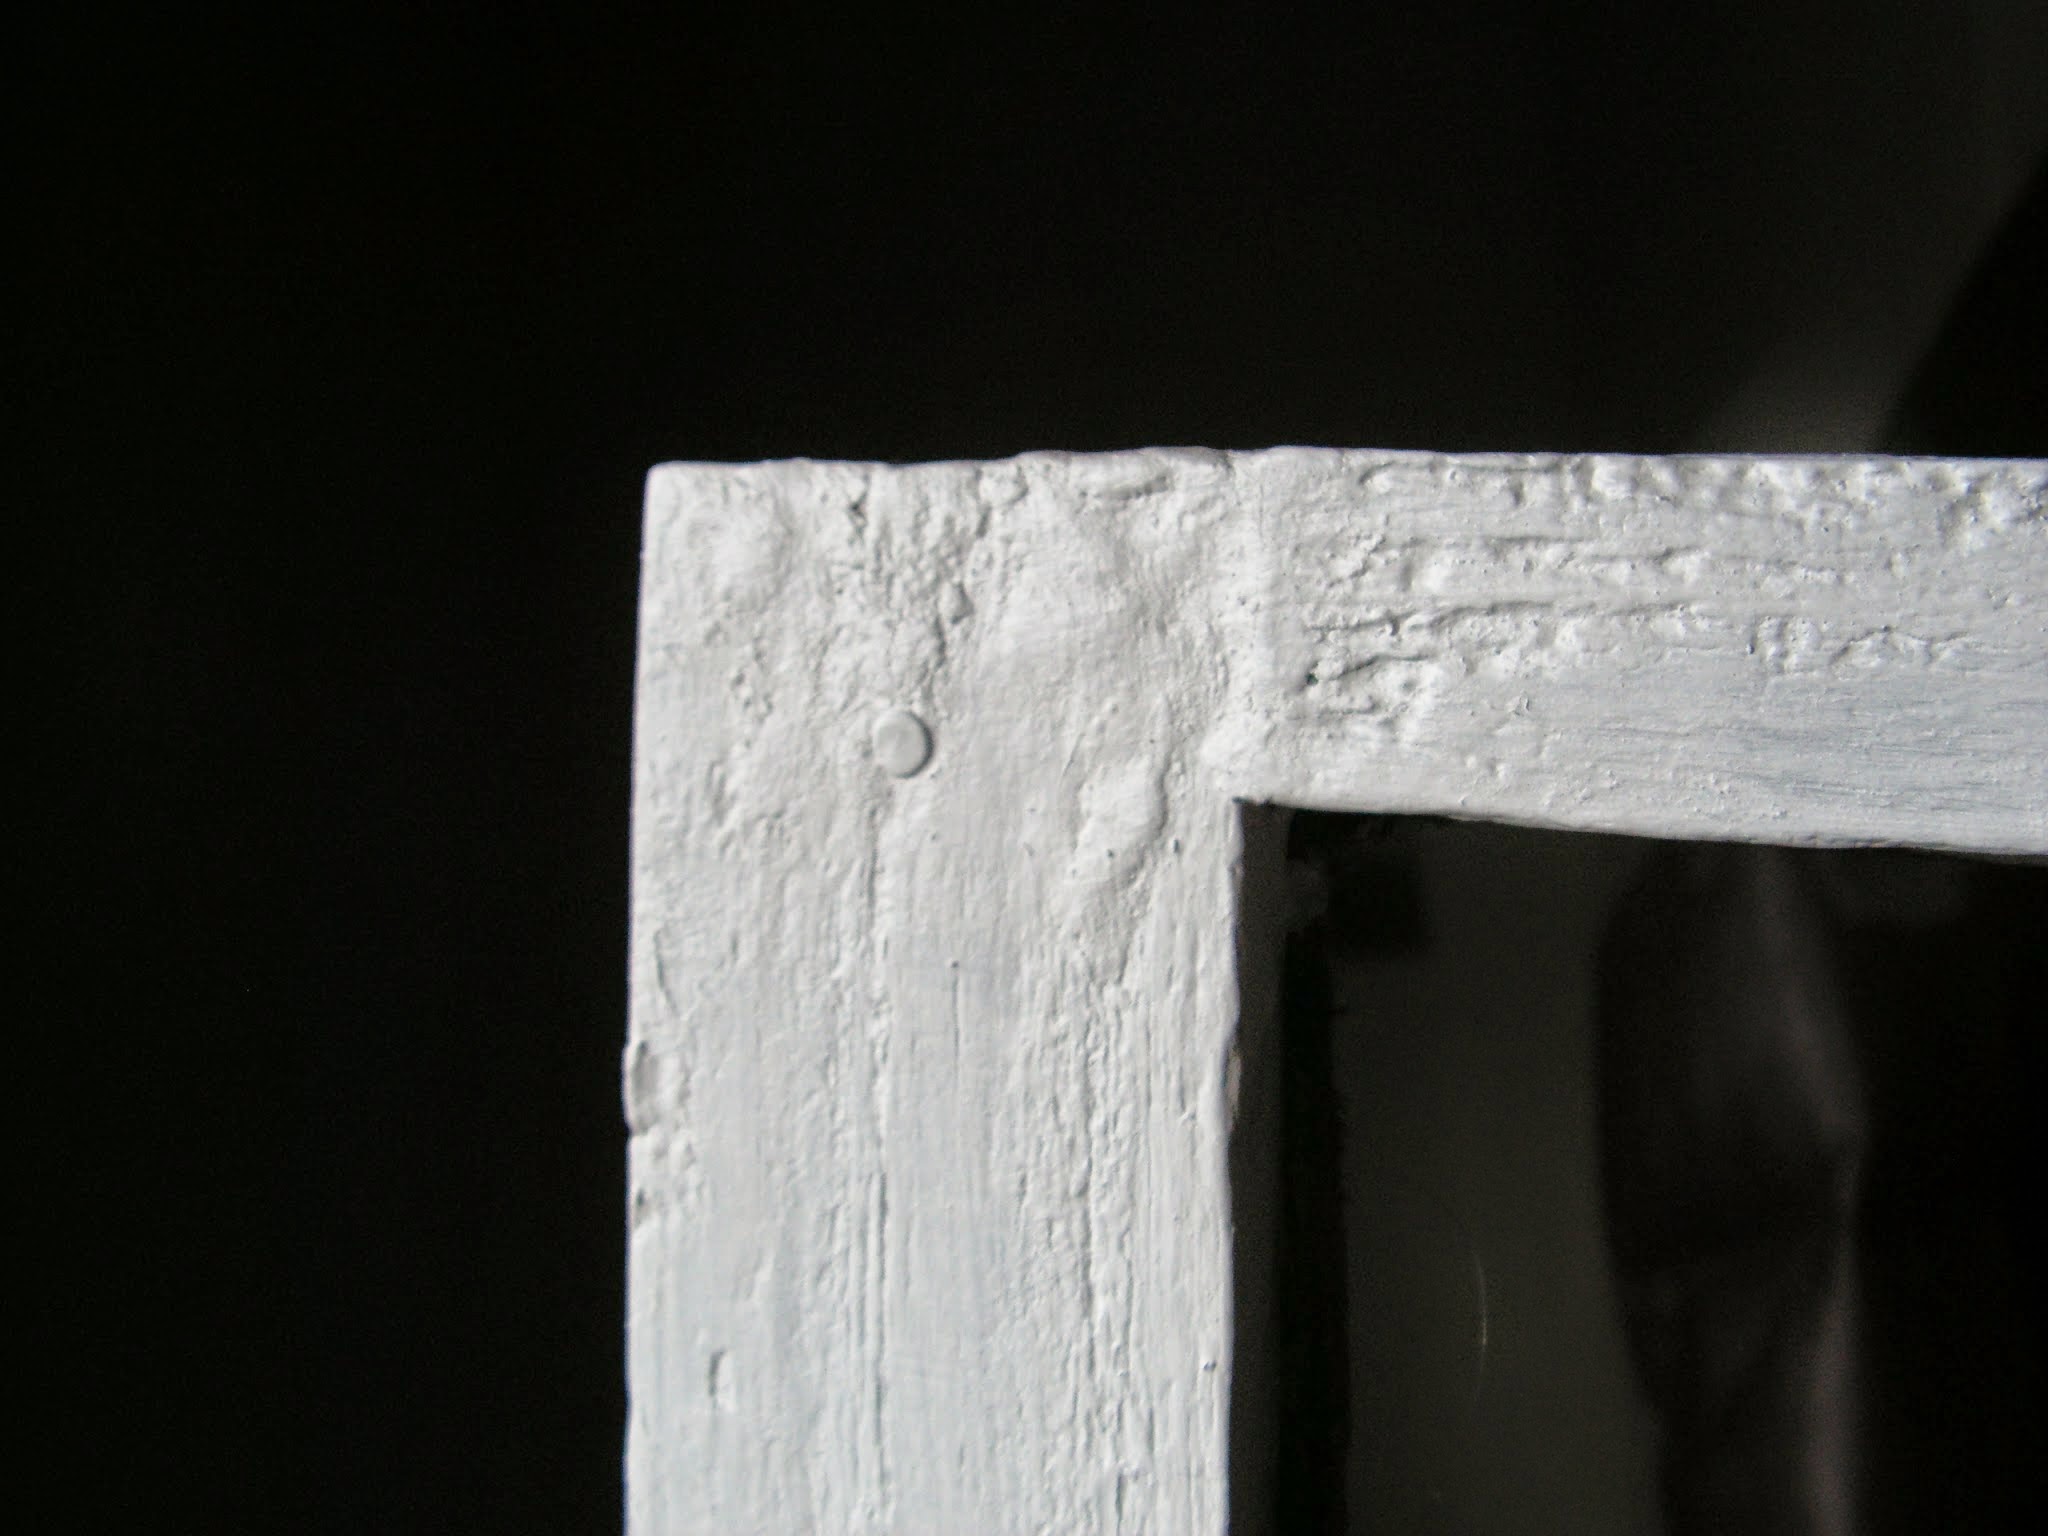
Sash primed

I drove little aluminum nails (as they won't rust) in place of the rusted sash pins.
Glazed with Sarco Type M traditional linseed oil putty. I never found whiting powder so I just had to deal with the oils on the glass later with some glass cleaner.
Sash painted with flat black oil paint.

A closeup of the wonderful putty lines I got!

Now, time to rehang the sash and restring the pulleys. I got Samson red spot cord (as well as my putty) from http://smithrestorationsash.com/ I highly recommend this company for your window restoration needs. Also pictured is a box of paraffin wax, which is used to lubricate the sash tracks to allow for smoother operation.

I found the 7 Lb iron weights in various places in the attic

Closeup of the Roman Numerals (love them)

I tied the sash cord to the weights, I read a very detailed and informative blog post here, how to tie the knots.
http://www.oldtownhome.com/2014/1/30/Window-Restoration-How-To-Re-Rope-Sash-Cord/

I had to nail the cord into the side tracks of the sash, as no matter what, I coudln't make a knot fit in the hole. I had seen other old windows done this way, so it is authentic. Used aluminum nails again, fun fact: I got these nails out of the siding I removed, I'm glad they got to get a real use!

Top sash installed!

It works!


No comments:
Post a Comment