This post will chronicle the siding removal and repainting of the East side of the house. This was done in October 2015. This was the last side I worked on in 2015, all in all I got about 70% of the house painted, I could have got 100% done in the summer but we had a lot of delays from life that cut into my time.
A lot more work went into this than it seems, I just don't photograph the endless hours where I scrape the loose chips and sand down, fill nail holes etc. However I am an efficient worker so it does not take that long.
The basic steps are, pull siding, clean up clapboards from the bug residue and nests, dirt etc. Pull all nails, fill nail holes, scrape, sand and caulk then prime and paint.
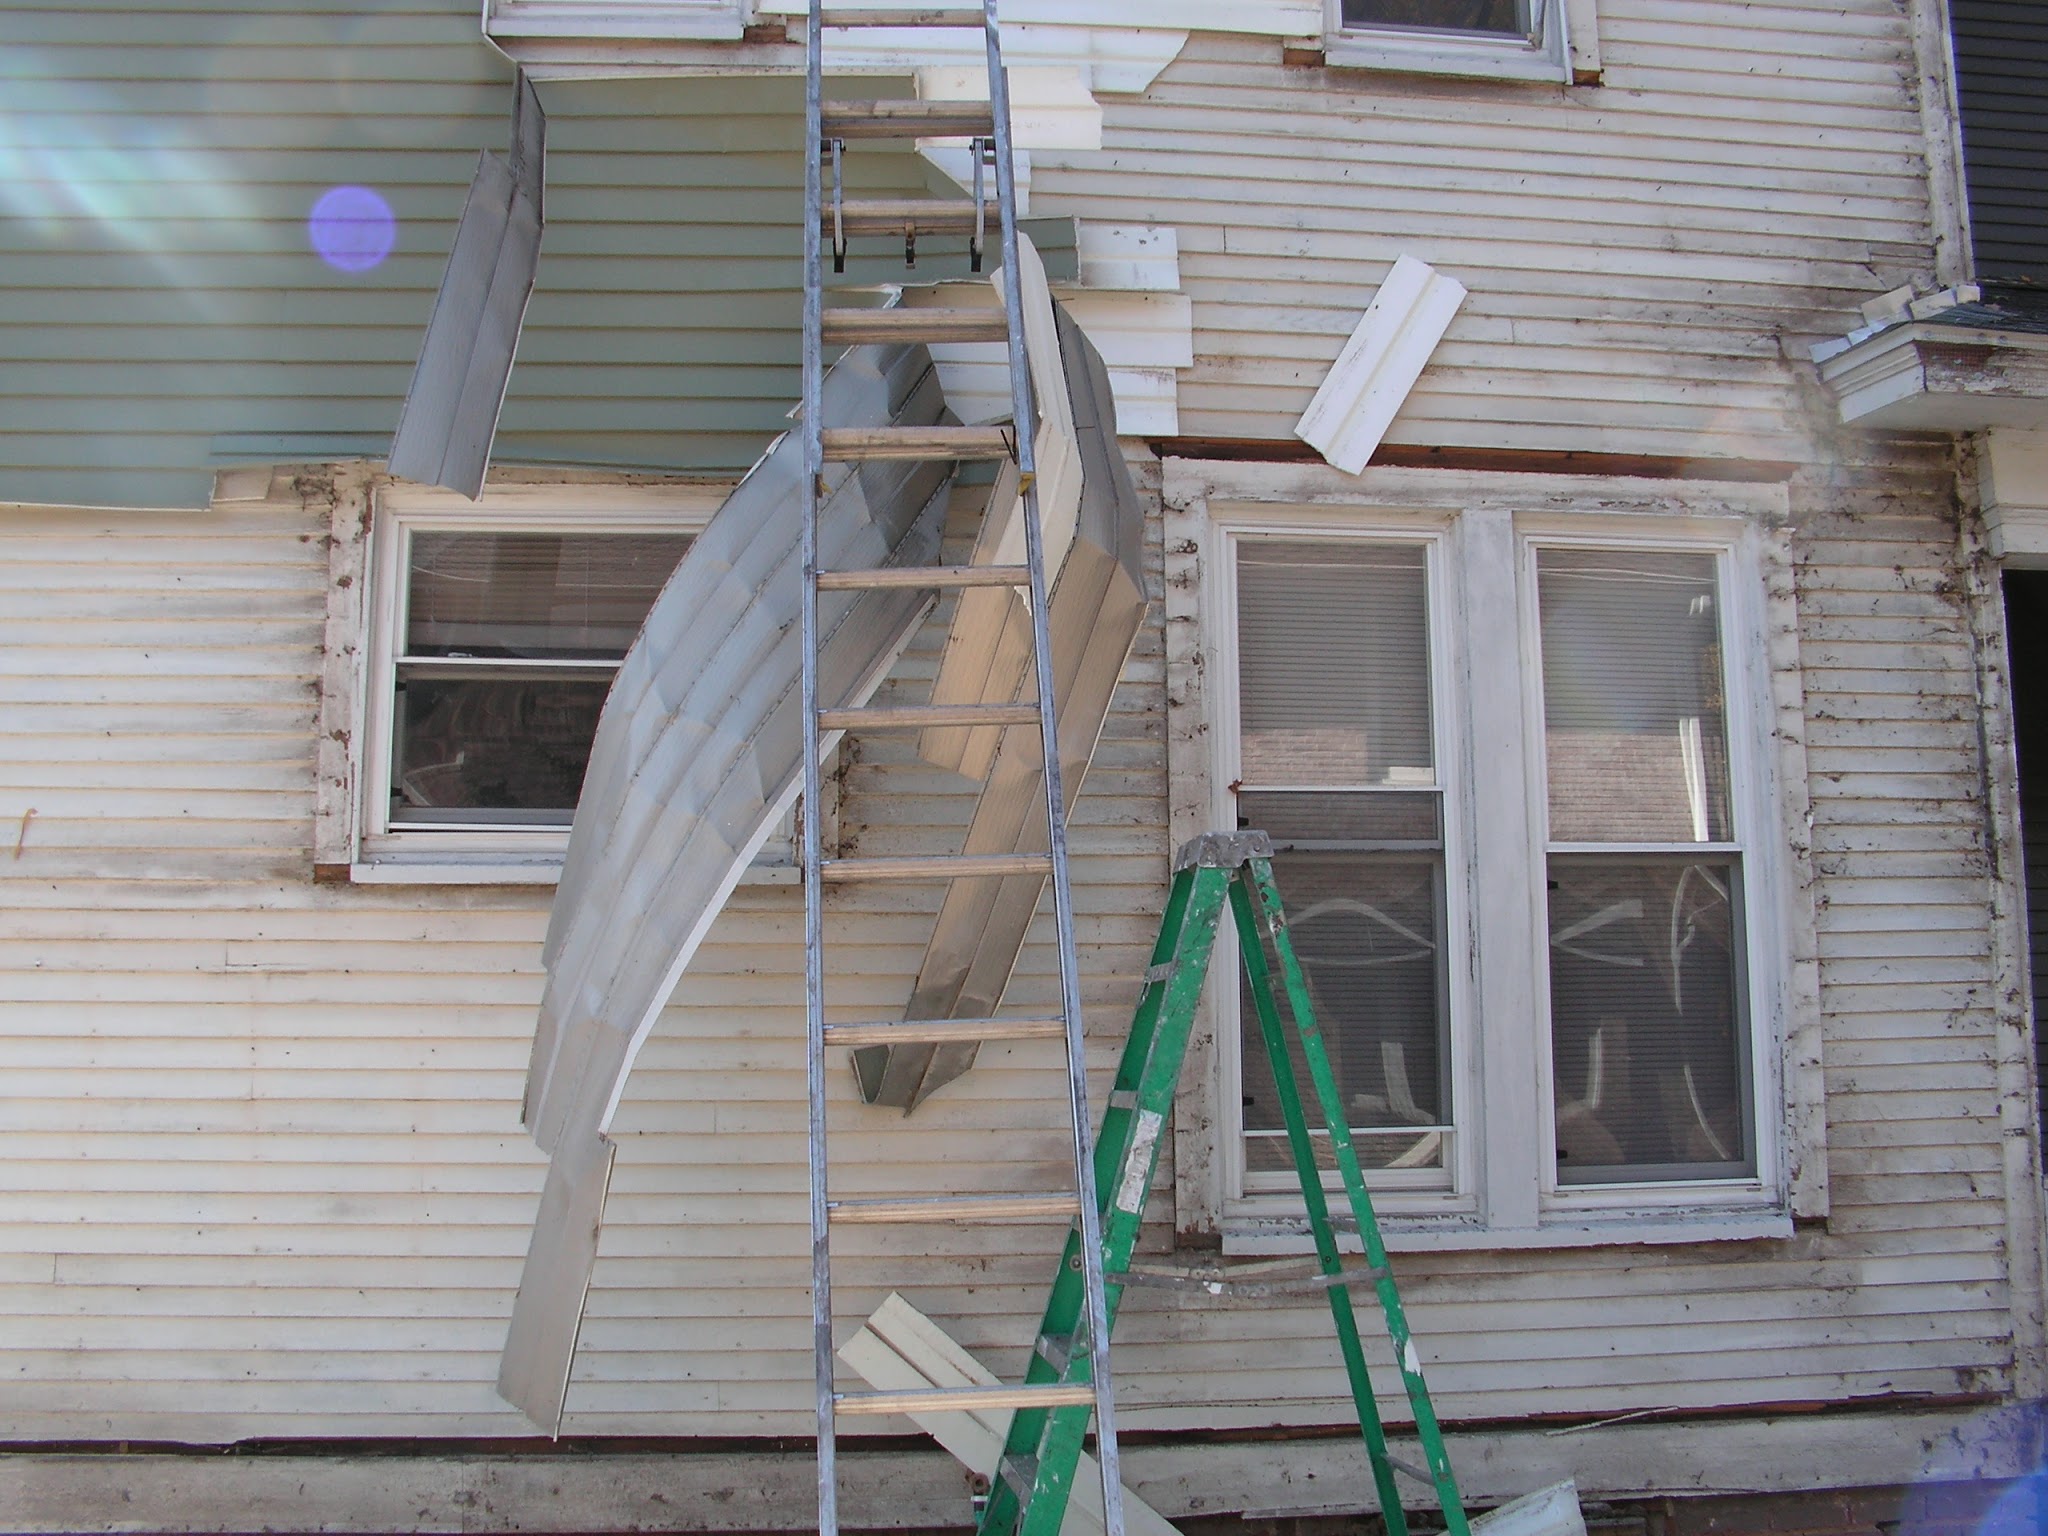
It may not be very apparent, but this side was rife with uneven clapboards, some were so uneven there was almost a gap between the rows! Also a lot of boards touched butt to butt instead of being continuous pieces like on the rest of the house. I can't believe it was like this!! The rest of the clapboards are the very definition of perfection. I considered pulled them up and redoing them but I feared it would be too much effort and risk of splitting the boards, especially so close to the winter season.
We will start off with a few before shots.

And another
Notice the bottom left corner was already coming up, years and years of wind on that. I used to peek under there imagining the day all that gets taken off!
The moment of truth! Most of that foam had already blown away years ago.
A few shots mid reveal
Another wasp nest!!
This took about 2 hours in total.
To save time repositioning the ladder, I used two, a step ladder for the 1st story, and the extension ladder for the 2nd story.
Almost done, a few pesky bits of that foam hanging onto the nails.
Something scribbled onto the back of the siding.
More mud dobbers!! The joys of siding!!
What the heck? Looks like a drawing of a sailboat!?!
Fully stripped (except for that bit of foam)
Better angle.
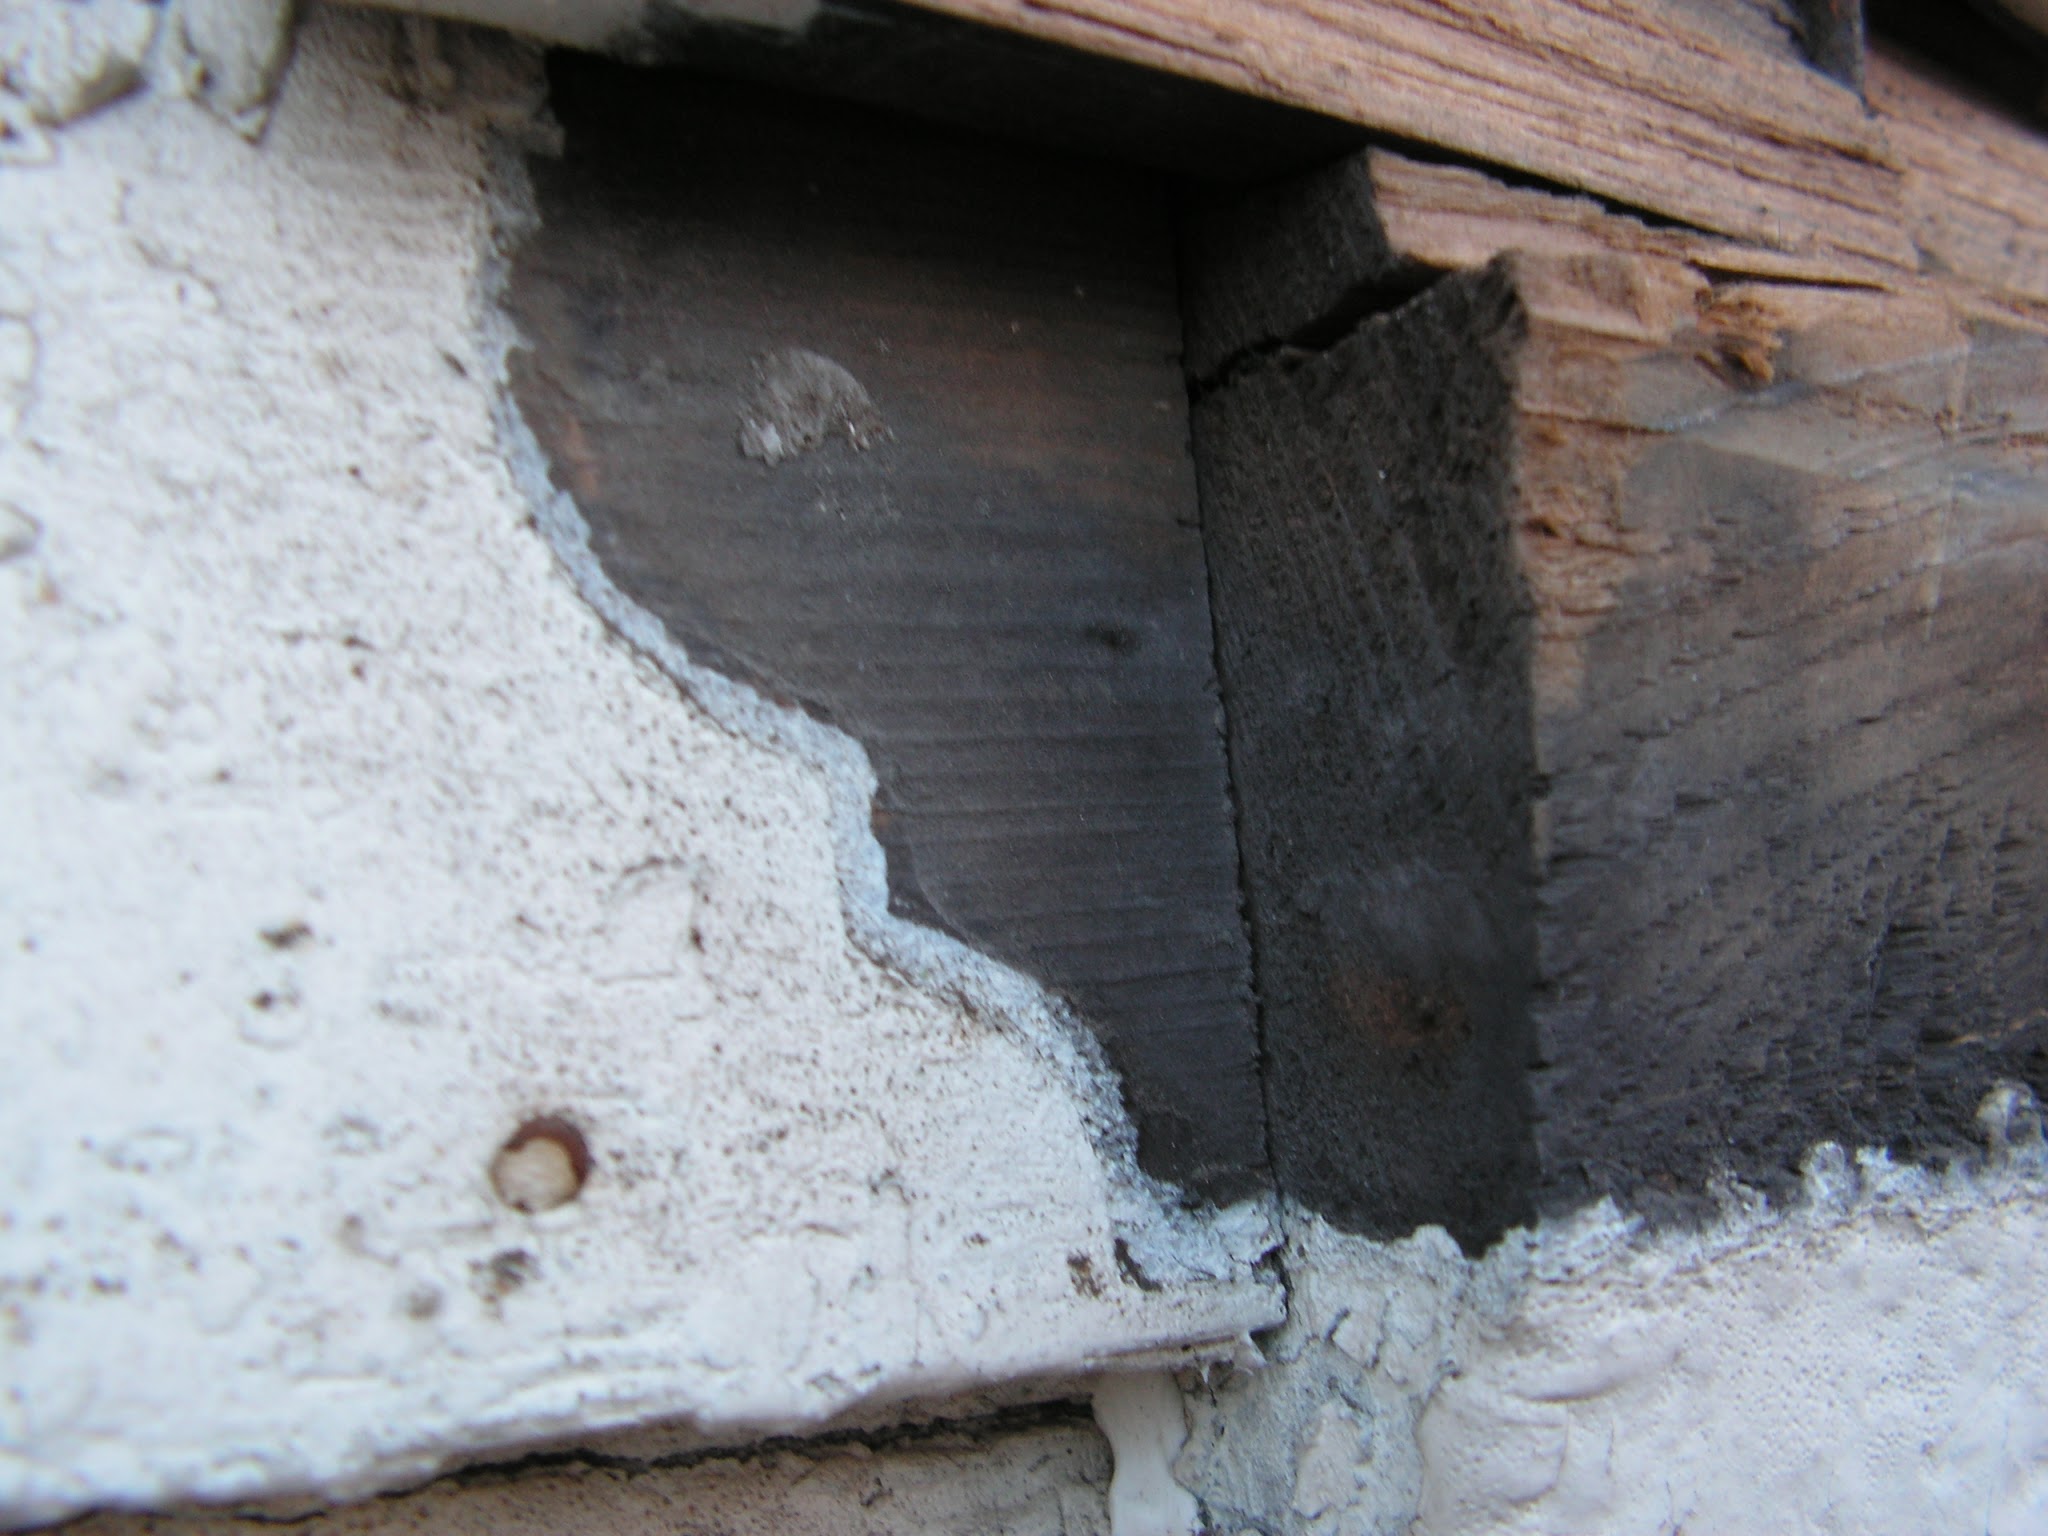
This clapboard was a little lose but I pulled it back a little to investigate, noticed the brown paper had gotten soaked more than a few times. I nailed it back with new nails of the same size and caulked where the clapboards meet with the window framing.
Closeups
Got the claps cleaned up and all nails pulled.
I decided to pull the aluminum off of the eaves another day as all the dirt and bug residue was falling on my head and in my eyes when I was pulling the siding off of the walls. So it involved extending the ladder to be even taller and well it was just a job for another day.
Looking better already.
Cracking paint, I used a scraper and a heat gun to tackle this.
Some if it was just ready to fall off with one good whack.
Bam!
Beautifully preserved paint shadow of the bead and cove moulding, I made sure to take plenty of pics and measurements to have it recreated properly.
It may be a little hard to tell, but I believe this side was spray painted sometime in the late 70s or early 80s, the texture and color of the paint is just too off compared to the off white color the rest of the house was from its 1920's paint job.
Things like this where the paint got behind the moulding on these fireplace flank windows where part of the moulding had fallen off due to neglect.
Also this is a big telltale sign of spray paint, notice where the gutter used to hang there is a dotted texture indicative of spray paint. Sigh..
Another shot, I caulked all these gaps.
You can sort of see part of the window jamb underneath that junk modern window, most of those have some little plastic flap to cover the sill angle but this one must have fallen off.
It's like peeling back the years, the white paint, the original 1902 Grey paint and finally bare wood. Someone told me my clapboards are likely redwood as they're exceptionally thin, but I don't know how to tell.
Oddly wavy wood was used for that window drip cap. Found it interesting, also pulled one of those nails to find out how big the nails were for the drip caps. I had brought in samples of the original nails of various sizes and bought new ones the same, unfortunately at the moment the nail sizes escape me.
Tackled the east and west sidewalls that I had not painted in June when I first painted the front side.
East side primed.
Another shot. I had actually ran out of primer, that's why that one spot on the bottom frieze board is bare, so I had to go to the store and get some more.
I decided to prime and paint the coal chute as it was rusty, as I understand it was originally just unpainted iron but it had seen better days so I painted it. Also the PO painted it the same color as the foundation which doesn't go with the new (original) color scheme.
Painting is underway
What I was talking about the misaligned boards.

All that's left is the trim to be painted white.
I took off the screen from this window to paint black as it should be. Also to keep the trim and screen from being painted shut. Need to restore that window.
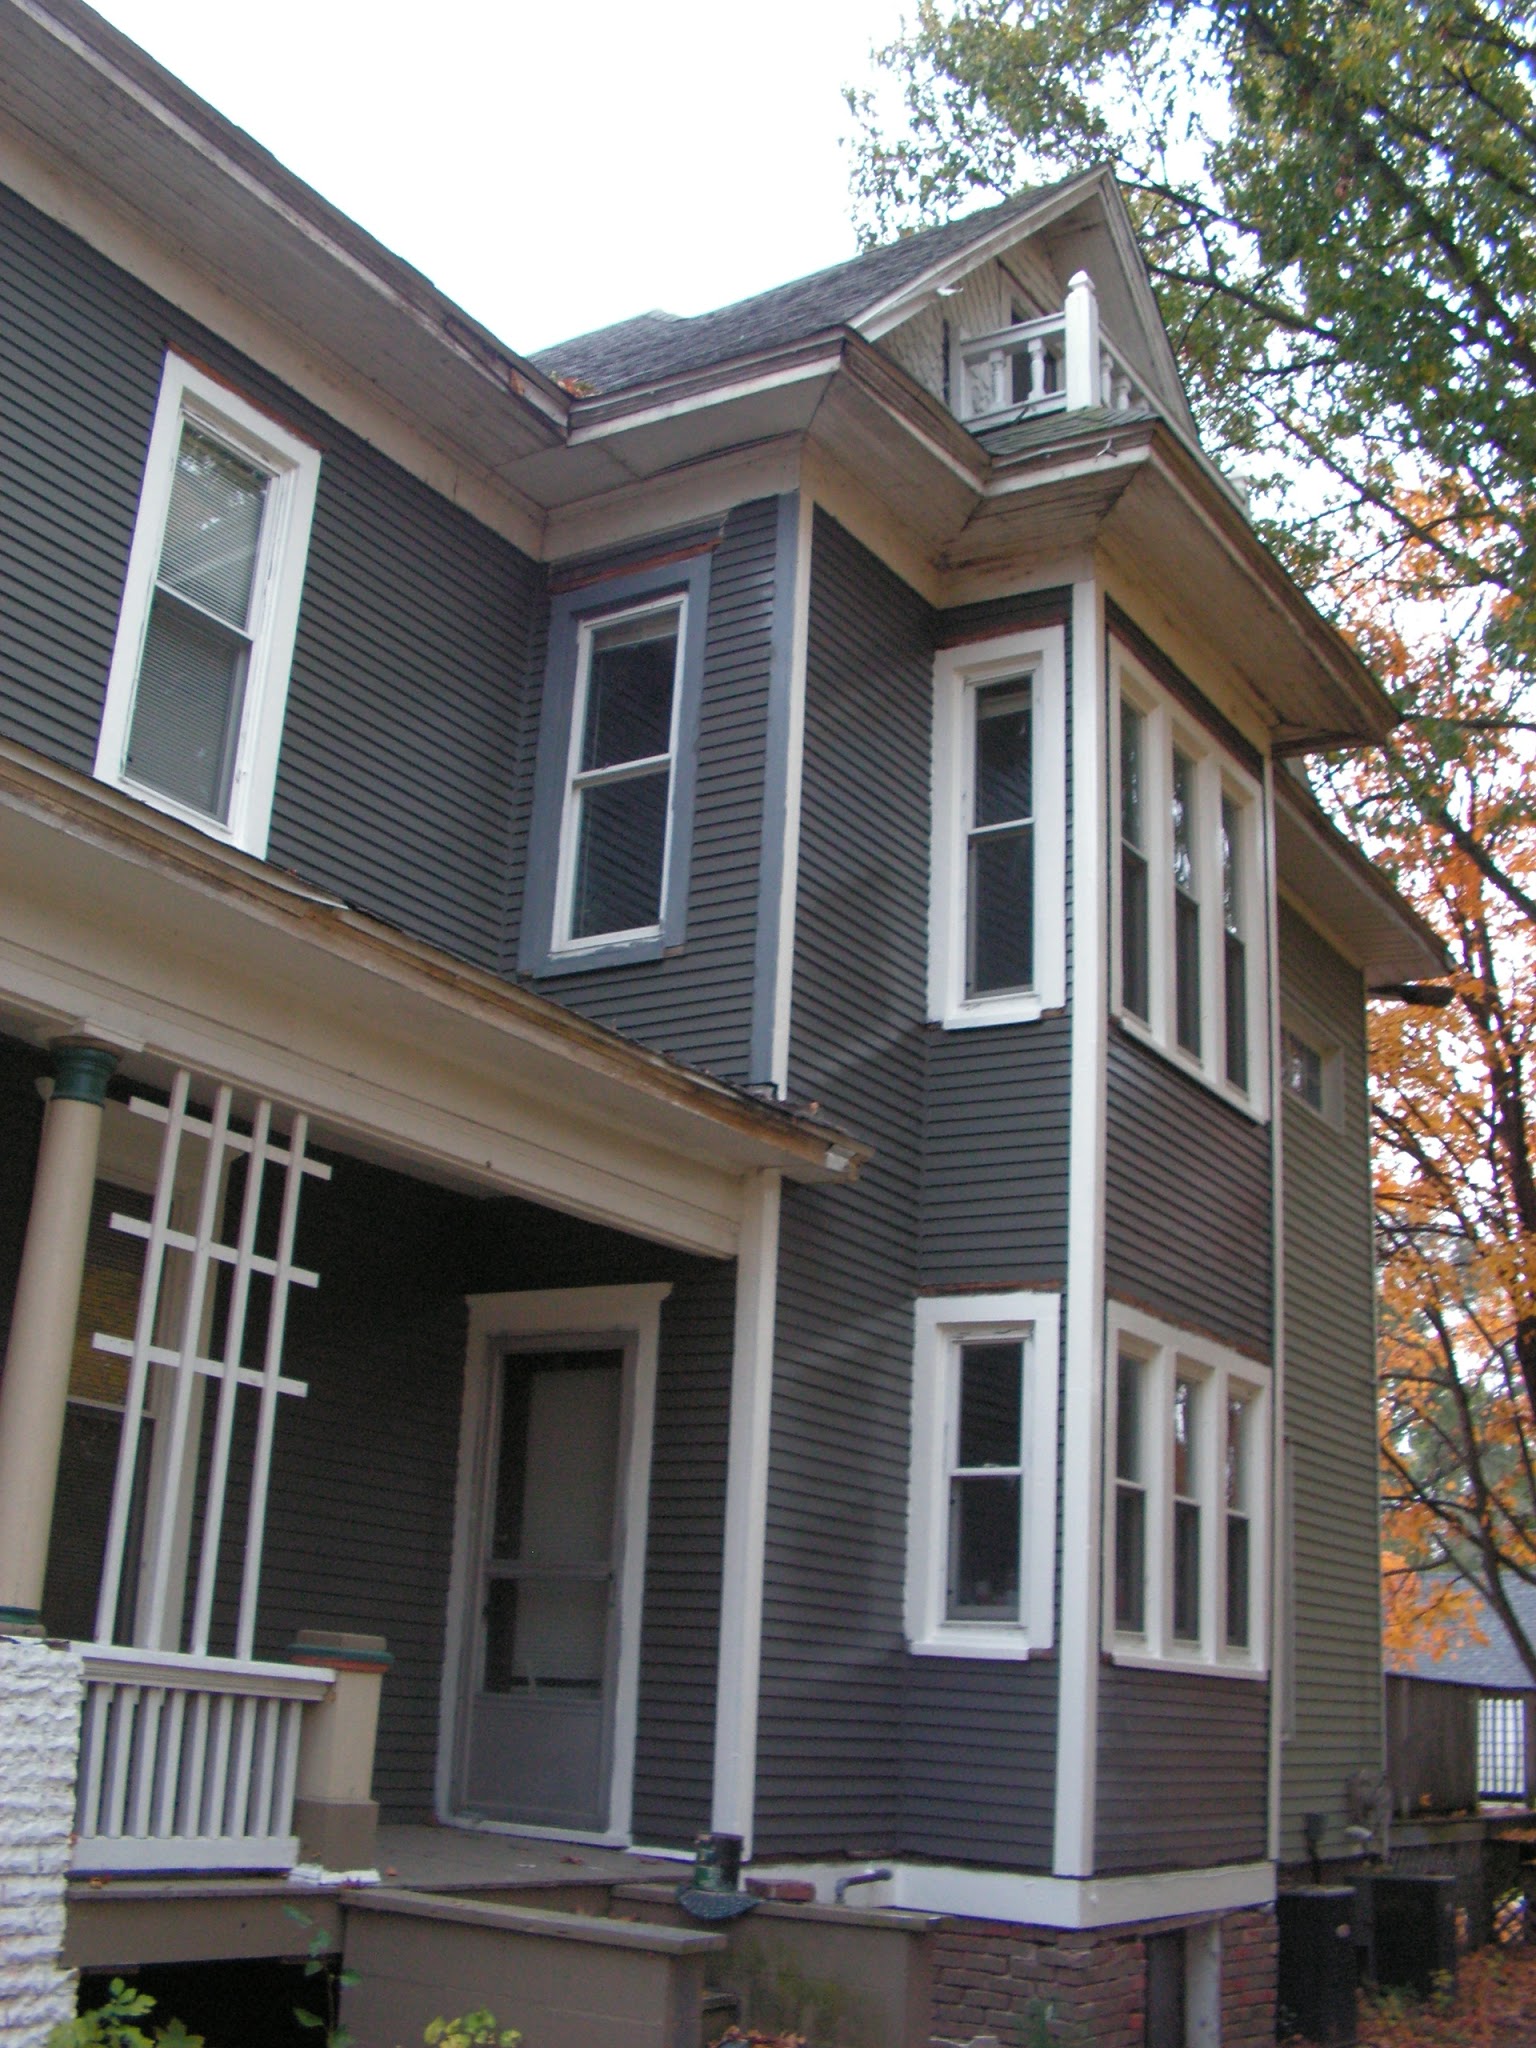
A beautiful after shot.
I will tackle the eaves and the top frieze board this year.
Final shot (that attic window still wasn't ready at the time I was doing this, thus being boarded over, the left one is in front of the chimney and cannot be removed, I have to restore that in situ this year)
Thanks for stopping by!


Looks great! What a job!
ReplyDeleteWonderful, inspires me to remove my siding!
ReplyDeleteWonderful, inspires me to remove my siding!
ReplyDeleteThat's terrific, good luck with your project!
ReplyDeleteI just bought an 1896 victorian home with ratty, likely original, cedar shake siding.
ReplyDeleteI'm trying to figure out what to do with it. I can't seem to find a way to contact you directly via this blog. But I'd love to pick your brain if you have the time and desire.
Thanks.
Hi,
ReplyDeleteSorry for the late reply. Yea, we can talk and I also recommend this site www.thehistoricdistrict.org/ theres lots of smart people on there who are knowledgeable about historic homes, I'm also a member on there.